Wednesday, June 4, 2014

Blue and White Striped Shorts


So I made another pair of shorts, apparently that's all I make now days. But in my defense I have been planning these since last summer when I saw these shorts on ModCloth (no longer for sale).


http://www.modcloth.com/shop/shorts-rompers/stripes-my-fancy-shorts

My version:

 I used the same free Owly Baby pattern here as my red shorts and my gray shorts only I got rid of the cuff. 


The fabric is actually something I got at the Goodwill and was a 3xl mini skirt. It was around $3 and was a ton of material. I used the waist band (made smaller) and the zipper from the original skirt but just cut out the rest of my pattern pieces like normal. I wish I would have taken a picture of what it looked like before.


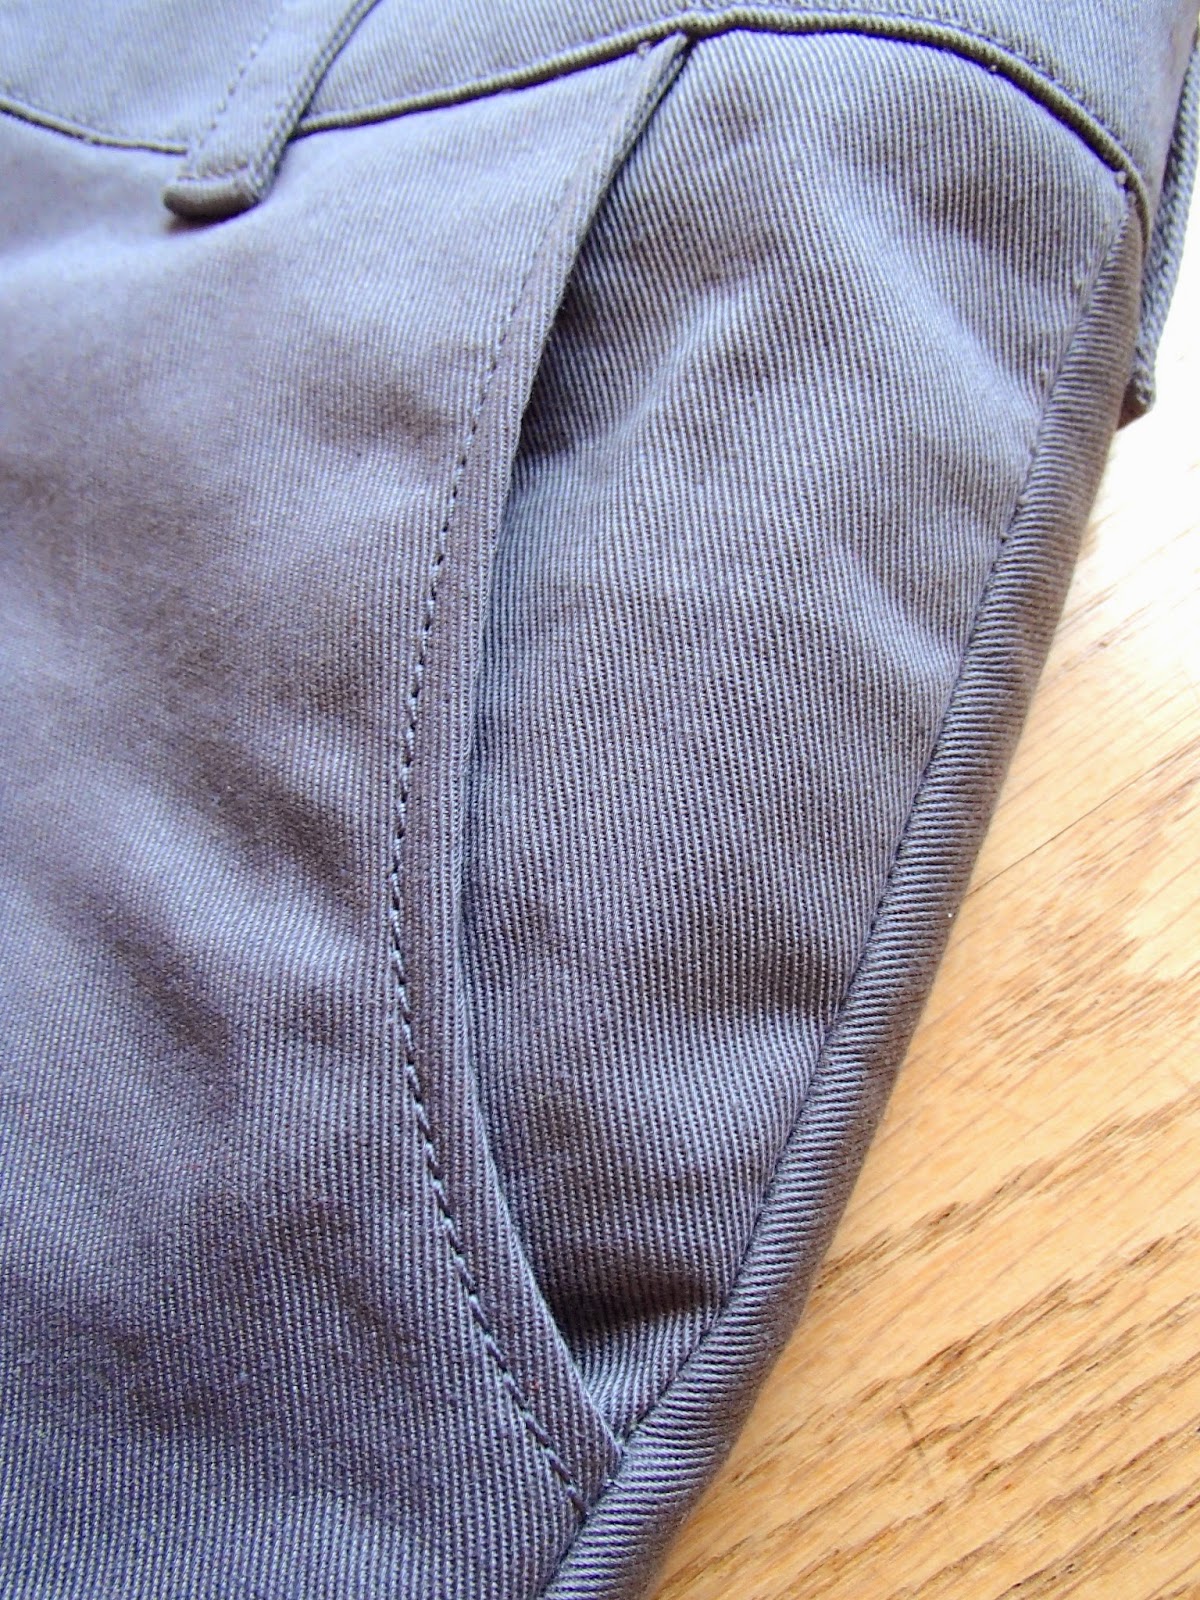
I used white fabric with little yellow and blue bicycles on it for the pockets that I had a remnant of. When I noticed how close the bottom of the pocket was to the hemline I decided to hem over it so it didn't peek out. But now I can't really pull my pockets inside out...so there's that.


Cat attack! Well I guess I was done taking pictures anyways...


I weirdly really like making belt-loops, I think it pulls the whole thing together.


I kind of want to make floral shorts after seeing a floral twill fabric on the Mood website...but I really really don't need any more shorts! We shall see if I can resist... I am going to try to talk myself into making a Grainline Moss miniskirt instead (not in floral), at least that is a little variety. 


Thursday, May 22, 2014

Gray Shorts


So, I might have started these shorts in September or so... then the weather turned and I lost my motivation. But the weather is getting warmer and I  finally buckled down and got them done. 


I used the same pattern as my red shorts which can be found here. I wanted to make a gray pair so they would go with everything, but an exciting color on the inside for fun. Pattern changes were all the same ones as last time only I lowered the pockets a little from the last pair and used a different technique for the fly, one from a Jean-ius Crafty class a bought awhile ago. I also stitched the belt loops on both edges this time, which I think I like better.


I also got a 3x large stripped blue and white twill skirt at the thrift store that I plan on turning into a pair of shorts to resemble a pair I saw on modcloth last summer. They had vertical stripes, but diagonal on the back pockets. I think I'm going to loose the cuff on the next pair too, and maybe try to work on the fit on the back a little.

Thursday, April 17, 2014

Raglan Henley Look-alike Shirt

Once upon a time, a few months ago, I found a shirt in a catalog that I liked. That shirt was $24.90 and I didn't like that. Sometime later the shirt was reduced to $15 and I bought it. Then I got an e-mail saying it was actually back-ordered. Then they weren't getting any more in. Sad days. Then I made the shirt myself, huzzah!

This was the shirt, the one on the right.

My version


I used New Look 6230 view B as my base and then added a placket. I also changed it so the back is one piece instead of two, and shortened and tightened the sleeves a bit. I cut a 4, the smallest size, and took the sides in just a bit and the sleeves quite a bit.

I know my head is lolled off to one side in this picture, don't ask me why.

I used this tutorial to make the placket. It turned out better than my last placket attempt on some other project where I was following McCalls directions. My finished placket is about 2 1/2" long by 3/4" wide.


I bought the fabric at Girl Charlee, which is still my favorite place for knits. I also got some cool striped knits that I am going to make into shirts as well.


For the neck binding I use this tutorial. I think the directions that came with the shirt would have been fine, but I don't think my would have worked as well with the placket.


Hemming the sleeves and bottom kind of made me want to kill someone. It was my first time using a twin needle with this machine and it's very finicky about it. I read nearly every twin needle tutorial on the internet and finally got it to mostly work. My sewing machine manual says to tread the treads one at a time, do not do this, IT LIES, it works substantially better if you do them together, at least on my machine. I also realized that I should be using a stretch twin needle, which is said to help with skipped stitches, so I ordered one of those but I was too impatient to wait for it to get here to finish my project. Reading the tutorials I also learned that you should not backstitch and instead leave long tails to pull to the inside and tie off.

The inside. That wadded area is actually where I tied it off, not a tangle. On the sides I did two straight stitches about a fourth an inch apart and the trimmed close to the second line. I think it looks kind of neat.

I had to do a picture where I tried to pose like the model, mine is a mirror image, but whatever.

Overall, I'm pretty happy with how it turned out and think it looks pretty close to my inspiration picture. I think the original is a little bit lower scooped in the front and I wish mine was as well. By the time I realized the difference I already had the placket in and it was not taking it out. I also wish the bottom had more of a curve shape, so I might change that next time.

I found a few other raglan style shirts around the internet that I might like to try like these:

I really like the little center triangle

Women's Long Sleeve | 3/4-Sleeve Raglan Henley | Alternative Apparel
I think I might actually just like this chicks messy side braid, I'm not sure.

Wednesday, March 26, 2014

Herringbone PJ's and Undies

Yes, more pajama pants! I made so many pairs for gifts this last year that I am happy to get to make myself some. I also threw out an old ratty pair with holes and failing elastic (at least 10 years old).  Huzzah!


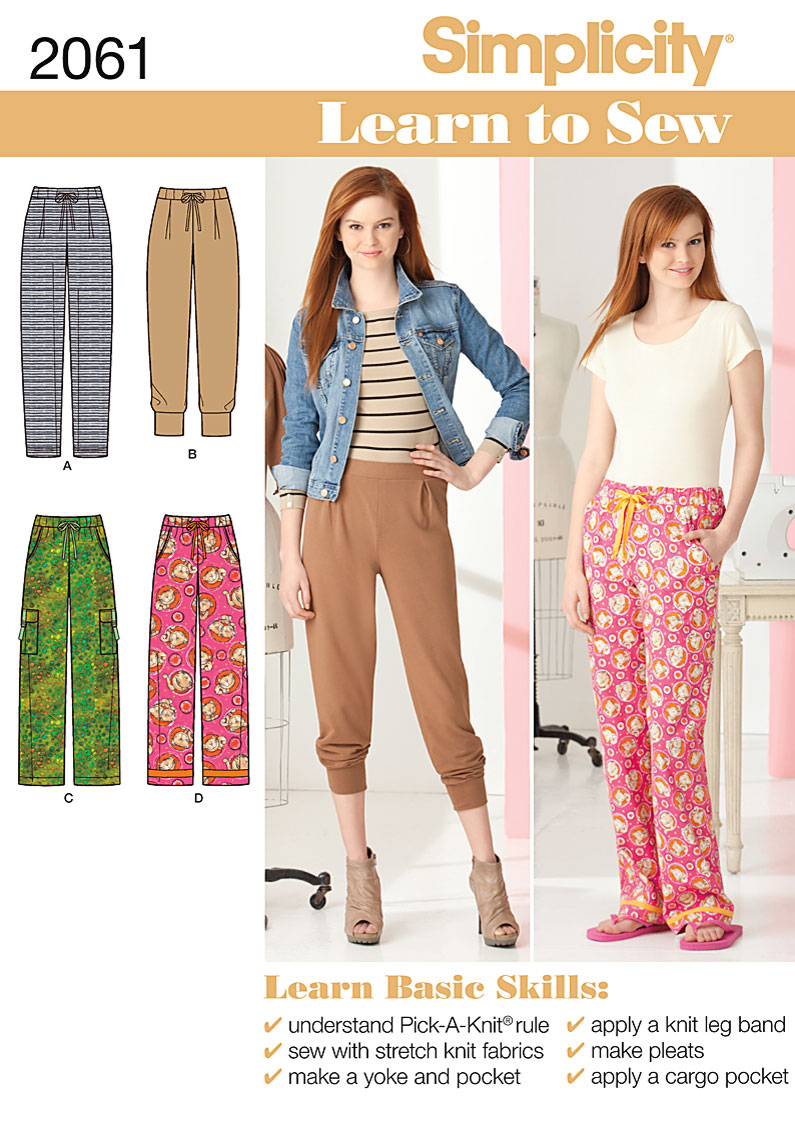
 I used Simplicity 2061 again, this time view D, which I have made before, but not for myself. I used Navy Herringbone Flannel Shirting Fabric from Jo Anns. I've really been liking herringbone lately for some reason. The fabric is very soft and pretty lightweight, I feel like to will be good material for spring and mild summer.


No surprises with the pattern since I have made it before. I'm not 100% sure on the changes I've made since I originally changed the pattern awhile ago, I believe I lowered the rise some, since I prefer a low rise, and added a few inches to the length.


The fabric frayed very easily so I decided to use french seams and changed the inside waist finish so the edge would be encased.  


 On to underwear! I feel like posting pictures of me in my undies on the internet is going a bit too far, so just assume these fit as they should.


I made the pattern myself by tracing a pair that fit well and referencing some online tutorials here and here, but mostly I winged it. They're stretchy, so the fit is forgiving. They fit me way better than most RTW, which always seem loose if they are lace, especially in the legs.


I used stretch lace from Debs Lace and Trims, a great online store if you can't find a good variety locally, and very reasonably priced in my opinion. No, I'm not being paid, but if someone wanted to that would be okay too.


For fabric I used two xl (or larger) shirts from the thrift store, just knit t-shirt type material. I can get two pairs from one shirt, so if I go to the thrift store on 50% off day then I can make these for a steal.


I made the bows with 1/8" ribbon and just tied them and sewed threw the center, and fray checked the edges. I feel like it makes them look a bit more RTW and, well, you can see which side is the front when you are in a hurry.


I feel like my underwear pile looks so fancy now with these on top.


I used french seams on the inside, just because.


I feel like I should be moving on to some more serious sewing project, but these are so fun and fast to make, I will probably be making more soon.

Wednesday, February 19, 2014

Black and Gray Sweatshirt Fleece Pants


So I was looking through a catalog and saw a cute pair of lounge pants, then I saw the price tag $40. Really? For PJ pants? I'm far too cheap for that. So I made my own.

From Alloy

They used French Terry for theirs, but apparently one can not buy that in a reasonable radius from my house,  and I was too impatient to order online, so I used sweatshirt fleece from Jo Anns. On the topic of the fleece, it oddly has a slight stretch length wise and zero stretch cross wise. I have no idea why you would want something you make out of sweatshirt fleece to stretch in length but not in width. Because I needed some stretch I cut my pattern out on the cross grain instead of with the grain. It seemed to work out okay. 


I've made pajama pants with this Simplicity 2061 before using view D and I like the pockets. I honestly never thought I would make the other views because...wow. For these pants I used view A with the cuffs of view B and added in the pockets of view D. I also lowered the rise by two inches like I have done for view D in the past because I don't like my pants by my belly button, but maybe that's just me. Also definitely got rid of those pleats. 

 I have not brushed my hair today. Don't judge me

I cut a size 6, but had to fuss with the fit some. The thighs were way too baggy for my taste and the ankle was very tight, but my fabric doesn't stretch as much as they recommend so the ankle part was on me. Also the waist needed to be taken in some, but again I made changes to the pattern there by taking out the pleats and adding in pockets. I think mine still aren't as form fitting as the inspiration pair, but with out the extra stretch I didn't want them to end up uncomfortable. 

 Trying to do the same pose as the model


Pockets! They are a little bunched here, but you get the idea. I made mine bigger than the inspiration and mine are gray instead of black. I didn't like the way the black pockets broke up the side line.

Overall, very happy with how they turned out, they look pretty close to my inspiration and are cozy. I personally don't condone going out in public in your PJ's but if I went out in these and someone I knew saw me I wouldn't be horribly embarrassed. 


Saturday, July 27, 2013

Red Shorts

One day I decided I wanted red shorts, I think it was some picture on pinterest that did me in. Some cool chick with a black and white striped shirt and sunglasses (note to self: spend less time on pinterst). I found a pair on ebay, I bought them, received them, didn't fit, sent back. Found a pair on Forever21.com, bought them, didn't fit, returned to the store. So I decided that the only way I was getting red shorts was to make my own.


I found a free pattern to use from Owly Baby here, but the pattern is only in a RTW size 4 and I had to make them a few inches smaller. I basically did a slash and spread only the opposite...slash and tuck...or fold? I also made mine about 1/2" lower cut because I prefer low rise pants.


I had numerous issues in making them including but not limited to sewing the waistband on upside down, and then sewing the facing and top stitching before I realized what I had done, a lot of seam ripping there. Then they were too tight, more seam ripping and resewing, then they were to loose...arrrgggg. A little bit makes a big difference with a waistband, I have learned.


I made my back pockets different from the pattern, I basically just traced one of my back jean pockets and then added seam allowances.


My first time making belt loops. I think they turned out okay but I think next time I will top stitch on both sides.


I got all my supplies at Joanns. The fabric is a tango red bottom weight twill, and I got the button, top stitching thread, denim needle, fabric for the pockets and inside waist band, zipper, and interfacing there as well. I had a gift card from my birthday so this cost me like 5 bucks out of pocket.


They fit pretty good, the waist band is still a little big, like maybe 1/4" to 1/2" but not enough for me to take it out again. Just something to change for next time.


 They are also pulling at the front a little bit...I think my fly technique needs a bit of tweaking. Also, my hand is veiny eek.


Yes the legs are the same length, it's just bunched in the picture. I'm not really super thrilled with how the back looks I think it needs a little bit of work. I think next time I am also going to move the pockets down about 1/2" because they feel higher then my normal jean pockets.


All in all I'm pretty happy with how they turned out. I got to try a lot of new techniques like making a zipper fly, doing a bunch of top stitching and making belt loops, so a lot was learned. Red is great but I don't feel like I have a lot of shirts that go well with it, I'm thinking about making a striped t-shirt or tank top to wear with it. I think I want to make another pair with charcoal fabric and either orange or lime for the pockets and inside band. Then they would have a bit of pizzazz on the inside but still go with everything.